There’s nothing like gliding down a smooth road, feeling the wind on your face and knowing your bike is in top shape. But let’s face it, bike repairs can drain your wallet and your patience. Ever wondered if you could skip the repair shop and take matters into your own hands?
You’re not alone.
I’ve been there, and I know the struggle. I learned the hard way that understanding diy bike maintenance isn’t just a luxury; it’s a necessity. With a little knowledge, you can avoid those costly trips to the mechanic.
In this article, I’ll share practical tips and tricks to make bike upkeep easy and accessible. You’ll gain the skills to handle common issues yourself. Trust me, it’s empowering to know how to keep your bike running smoothly.
By the end, you’ll be ready to hit the road with confidence and save money while doing it.
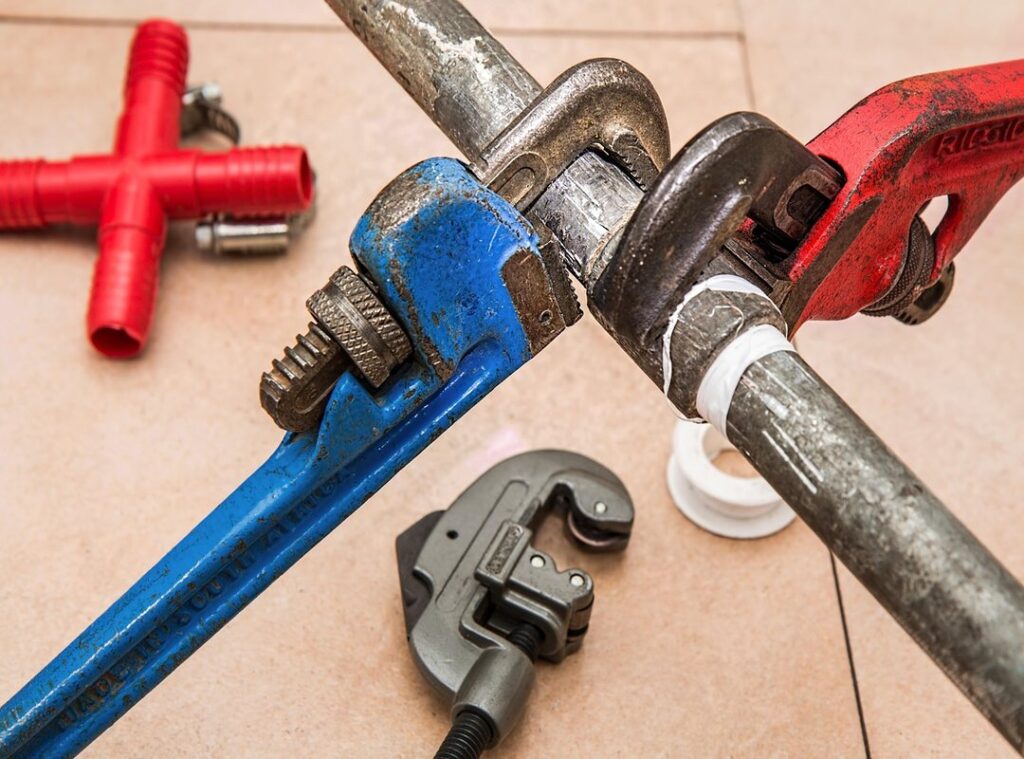
Important Tools for Bicycle Maintenance
When it comes to diy bike maintenance, having the right tools can make all the difference. Tire levers are a must. They’re indispensable for changing a flat quickly (you don’t want to be stuck on the roadside).
A good multi-tool? Equally important. It’s like your bike’s best friend, ready to handle most issues you’ll face on the road.
But here’s the catch: not all tools are created equal. Buy cheap and you’ll buy twice. Look for quality brands known for durability.
Park Tool and Topeak come to mind. They might cost more upfront, but they save money in the long run. Online stores like REI or local bike shops often have good deals.
Having the right tools isn’t just convenient. It saves serious cash over time. Imagine not having to run to the shop for every minor fix.
And if you ever hit a snag, check out our guide on Troubleshooting Common Bike Issues. It’s a lifesaver.
Pro tip: Always carry your tools with you. You never know when you’ll need them. Trust me, being prepared is half the battle on the road.
Routine Checks: Keep Your Ride Smooth
Let’s talk about routine checks. They’re the unsung heroes of diy bike maintenance. Why?
Because they keep your bike running smoothly and help you spot issues before they become headaches. Think of it like giving your bike a regular doctor’s visit. You wouldn’t skip your own check-up, right?
First, tire pressure. It’s simple, but it’s key. Low pressure can mess with your ride and wear down your tires faster.
Use a gauge (they’re cheap) and keep those tires at the right psi. Trust me, your bike will thank you.
Next up, brakes. If your brakes aren’t working right, you’re asking for trouble. Squeeze those levers.
Chains and gears? They need love too. Lubricate your chain regularly.
Feel spongy? It’s time to adjust or replace them. It’s not rocket science, but it is life-saving.
A dry chain wears out faster and makes for a noisy ride. Nobody wants that. And while you’re at it, check your gears.
Make sure they’re shifting smoothly. If not, a quick tune-up might be in order.
Now, let’s talk about early warning signs. Strange noises? Wobbly wheels?
They’re not just annoying. They’re signals. Don’t ignore them.
Catching small issues early saves time and money later.
For more detailed steps, check out these 5 diy bike maintenance tips from a bicycle shop. They know their stuff.
Routine checks aren’t just for pros. They’re for anyone who loves their bike. So, grab your tools and get started.
Your bike deserves it. And let’s be real, so do you.
Keep Your Ride Alive: Quick Bike Cleaning
You don’t need to be a mechanic to keep your bike in top shape. DIY bike maintenance can be simple (and honestly, a bit therapeutic). Keeping your bicycle clean isn’t just about aesthetics.
A clean bike performs better and lasts longer. Dirt and grime can wreak havoc on your gears, chain, and frame. You might not think much of it now, but trust me, your bike will thank you in the long run.
So, how exactly do you clean it right? Start with the basics. Grab a bucket of warm water, a gentle soap, and a sponge.
Avoid harsh chemicals; they can damage the frame (especially) if it’s carbon or aluminum. Use a degreaser for the chain and gears. They’re the dirtiest parts of your bike (you don’t want to skip that).
Rinse off with low-pressure water (high-pressure can damage parts). Once clean, dry everything thoroughly. Moisture is your enemy, leading to rust and corrosion.
Don’t forget to lube the chain after it’s dry. Proper lubrication keeps the chain running smoothly and prevents wear.
How often should you do this? I say once a month, but after every muddy ride wouldn’t hurt. A regular cleaning schedule is your best defense against wear and tear.
Write it in your calendar if you need to. This isn’t just maintenance. It’s about keeping your freedom on two wheels alive.
Pro tip: Use a toothbrush for those hard-to-reach spots. You know the ones. They’re pesky, but a clean bike is a happy bike.
Plus, who doesn’t love a little extra workout for your arms?
Bike Maintenance: Adjust & Lubricate Like a Pro
Let’s talk about lubrication. It’s the secret sauce to keeping your bike running smoothly. Without it, you’re just asking for trouble.
Chains that squeak, gears that grind (nobody) wants that noise. Grab the right lubricant (not WD-40, please) and apply it sparingly. Less is more when it comes to lubing up your ride.
Now, adjusting components like chains and gears isn’t rocket science. DIY bike maintenance starts with understanding your bike. Check your chain tension.
If it’s too tight, the ride’s rough. Too loose? It might just slip off mid-ride.
You see where I’m going with this?
Gears need love too. Shift through them and listen. Hear that click?
A little tweaking of your derailleur might be in order. It’s all about that sweet spot where everything shifts like butter.
Common mistakes? Over-lubricating. It attracts dirt, which is the enemy of a smooth ride.
Wipe off excess lube after application. Trust me, your bike will thank you.
For more tips, check out the importance regular bike check ups. Keeping your bike happy means fewer headaches for you. It’s all about the ride, right?
Troubleshooting Bike Woes: Ride Smoothly Again
Every cyclist knows the frustration of a chain slipping mid-ride. It’s like a rude interruption in a gripping novel. Usually, a quick adjustment of the derailleur does the trick.
But if you’re still having issues, it might be time for professional help (trust me, it’s worth it). Brake squeal is another common headache. Often, it’s just dirt on the rims or pads.
A little cleaning goes a long way.
Sometimes, though, those squeaks mean you need to realign your brakes or replace the pads. Don’t ignore these signs. Your safety depends on it.
Other issues? Flat tires, which seem to happen at the worst moments. Always carry a spare tube and pump.
You never know when you’ll need them.
Preventative maintenance is king. Regularly check your bike’s components for wear and tear. DIY bike maintenance can save you a heap of trouble.
Lubricate the chain, inspect for brake pad wear, and keep your tires inflated. Pro tip: Keep a toolkit handy.
But when things go beyond your skills, don’t hesitate to call in the pros. After all, sometimes expertise is the best fix.
Keep Your Ride on Point
Regular upkeep is key to a smooth ride. I’ve seen how diy bike maintenance can transform your experience. You need the right tools, a solid routine, and a willingness to troubleshoot.
Cleaning and making adjustments don’t take much time but make a big difference. Why wait? Start your maintenance routine today.
It’s not just about fixing problems. It’s about preventing them. You deserve a bike that runs flawlessly.
Explore resources that dive deeper into advanced upkeep techniques. Your ride will thank you. Don’t hesitate.
Take action now and enjoy the road ahead.
 Fenrithia Hearthmoor is a contributor at FMB Moto Gear who specializes in motorcycle gear reviews, rider protection, and touring essentials. With a strong appreciation for functional and dependable riding equipment, she creates informative articles designed to help readers choose gear that improves both comfort and safety on the road.